- Go to https://developer.twitter.com/en/portal/dashboard and press Create New App
- Choose planned use for Your application, fill in required fields, that ask about how this application will be used, accept to terms and conditions of the twitter.
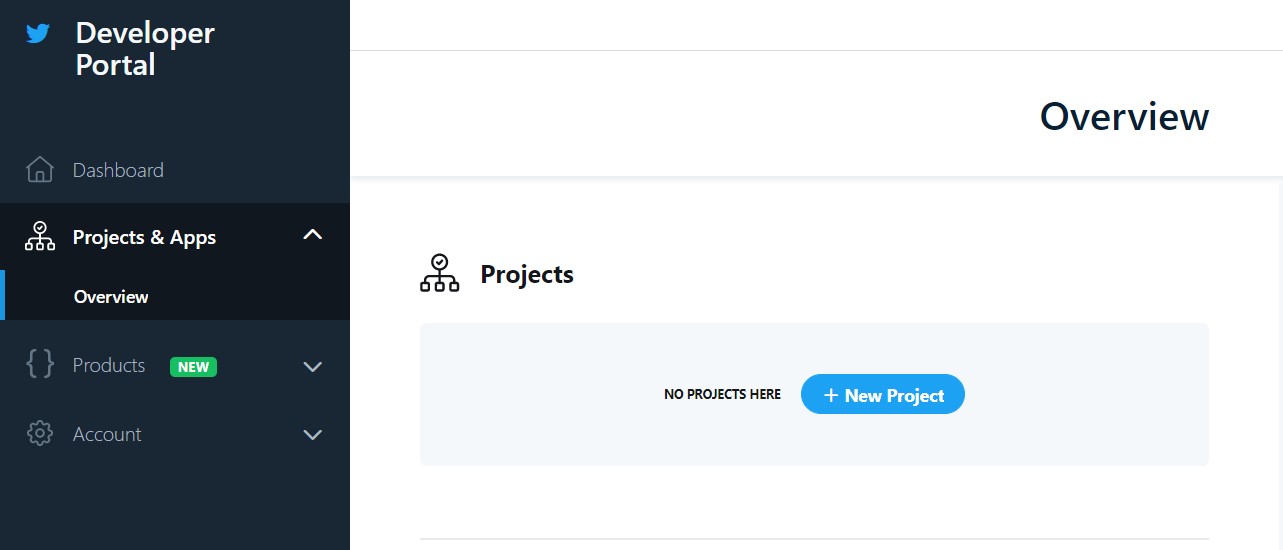
- Once You’re done, You want to return to this page: https://developer.twitter.com/en/portal/dashboard
- In “Projects & Apps” click “Overview” and create new project by clicking “+ New Project” button, fill in name of the project and Your application.
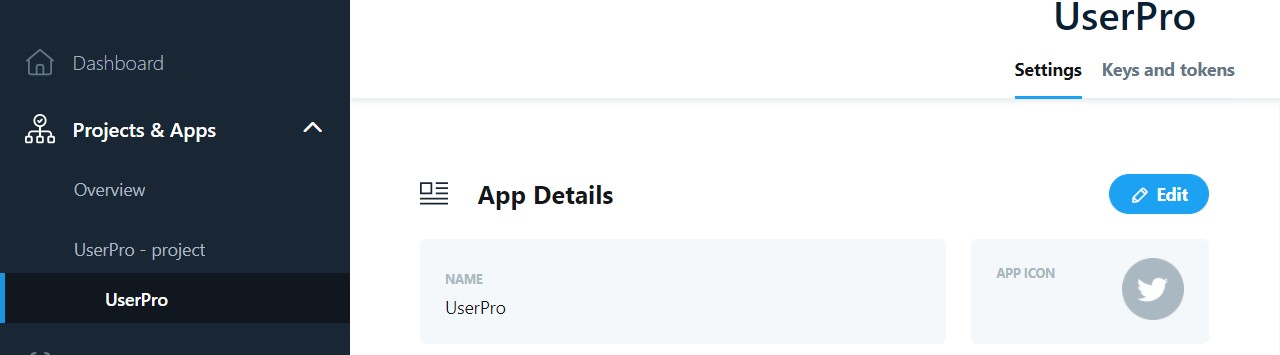
- Once You’re finished, You should have such view:
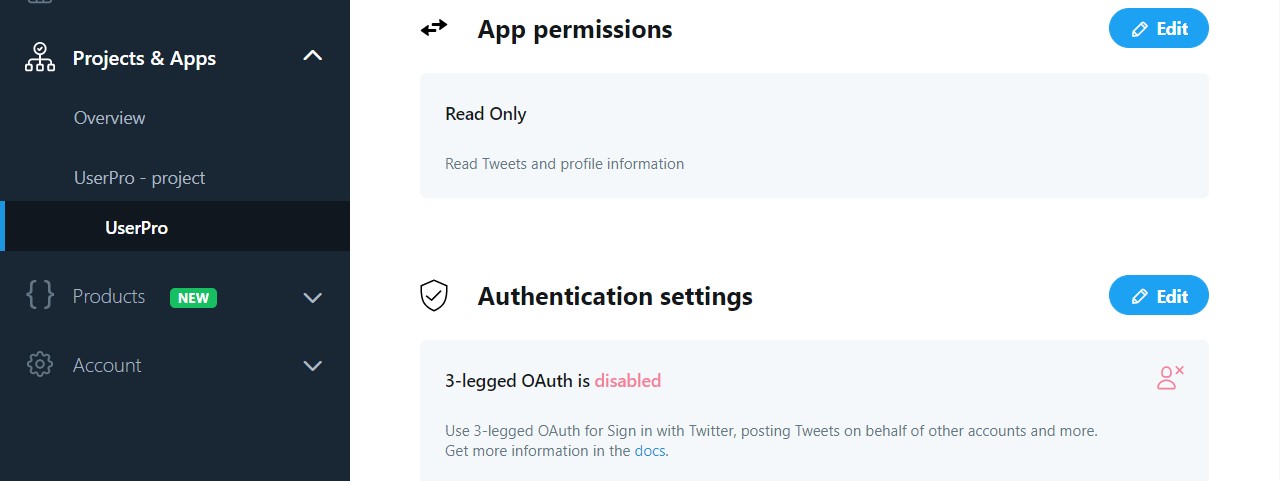
- Scroll down and find in Your 3-legged OAuth and edit it
-
Enable 3-legged OAuth, enable Request email address from users, fill in Callback URL, which is Your website address with /wp-content/plugins/userpro/lib/twitterauth/auth.php at the end, add Website URL, terms and conditions, privacy policy pages and save changes.
- Switch to “Keys and tokens” tab, click “View Keys” in API key & secret field
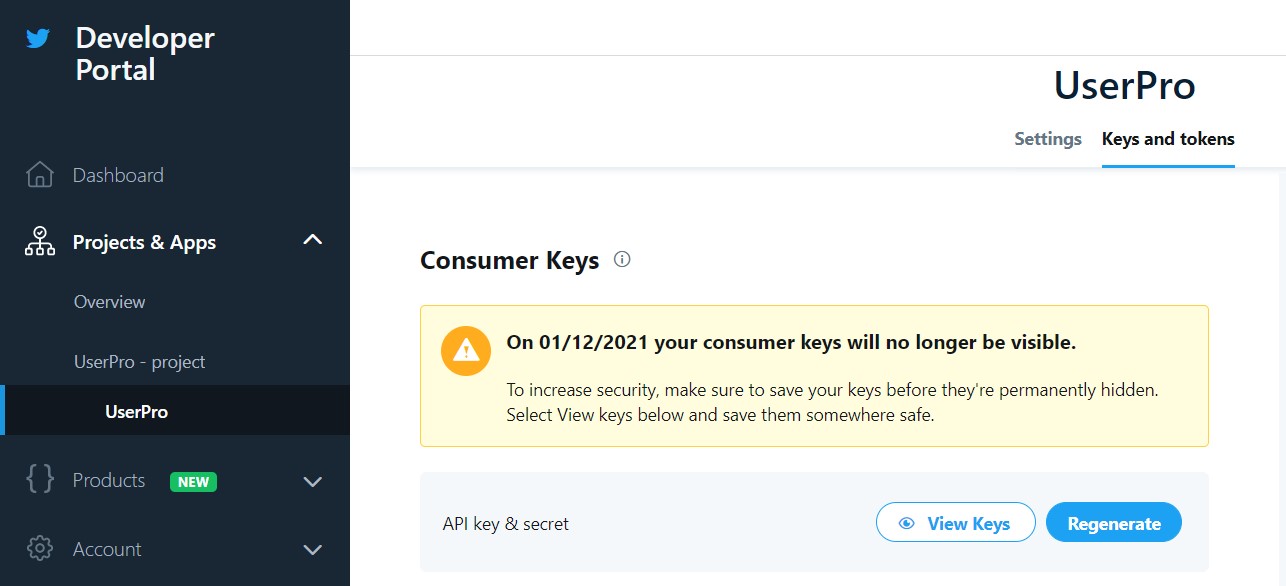
- You will see Consumer Key and Consumer Secret keys. Make sure to keep this page in a different tab as You will need it in the next step to copy&paste it.
- Return to Your website: Admin dashboard->UserPro->Near the bottom of the page, there will be an expandable tab: “Twitter Integration“
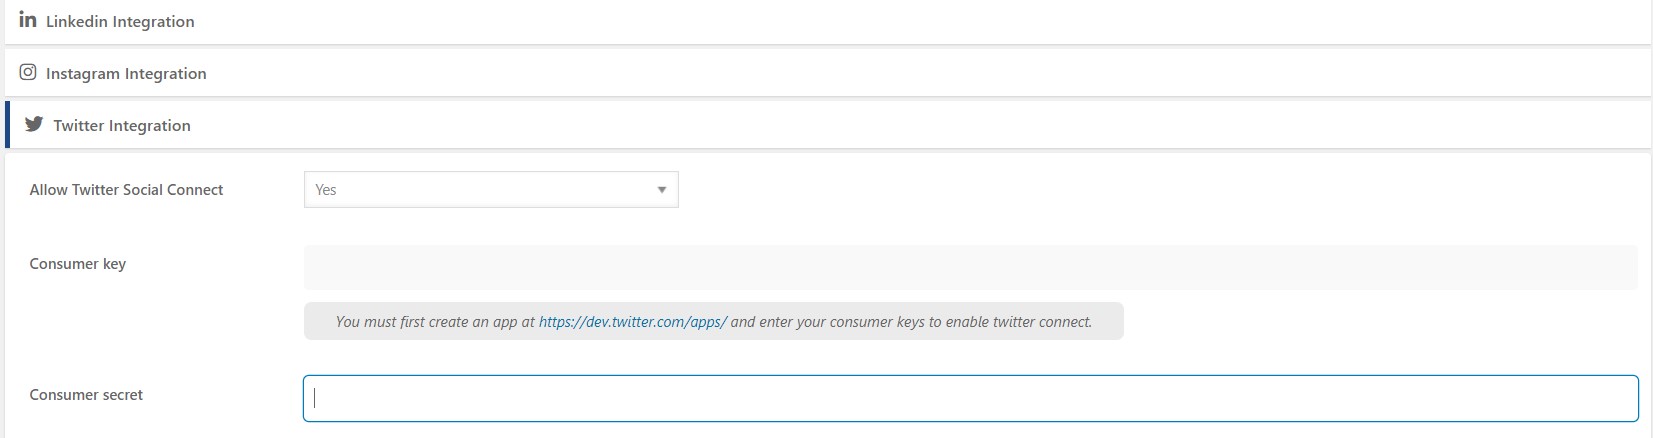
- “Allow Twitter Social Connect” set it to “yes”, field “Consumer key, Consumer secret” – look up previous step, copy&paste secret to secret field and key to the key field, Custom Redirect URL After Login – should be identical to step #7 – “Callback URL“
- Press Save Changes.
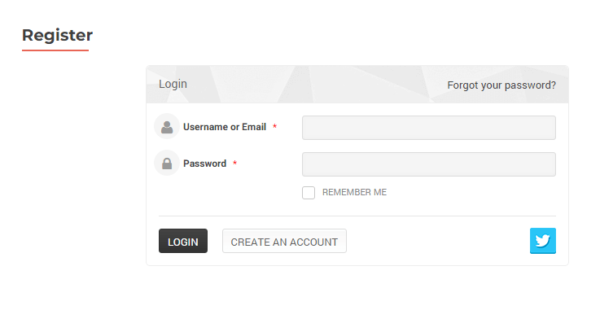
- Now you should able to see Twitter login icon in the login page.

Leave A Comment?