1. Go to https://apps.twitter.com/ and create a new app
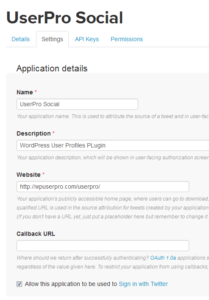
2. In your Settings tab, you should setup your domain name like how we did for UserPro demo. Enter your website, and allow your app to be used to sign in Twitter. (See attachment for help)
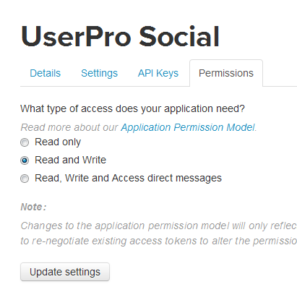
3. In your Permissions tab, please make sure you’ve enabled Read and Write Access to your application. Write access is required If you want to benefit from Twitter viral marketing, for example to allow automatic tweets posted to your user’s timeline.
4. Open your API Keys tab and copy your API Key and API secret you will need them later

5. Now paste your API key and API secret (from previous step) to your WordPress admin under UserPro > Global Options > Twitter Integration settings (See following image)
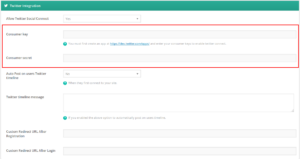
6. Make sure that Twitter Connect is enabled
For setting up Twitter App to fetch Email Address from users then please follow the steps below
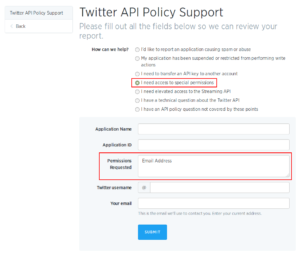
1. Go to https://support.twitter.com/forms/platform
2. Select the option “I need access to special permissions” and enter “Email Address” in “Permissions Requested” section
3. Now sit back and relax – Twitter will get back to you after whitelisting your Twitter App with Additional Permissions for “Email Address”
4. On Approval from Twitter Support, go to your Twitter app : https://apps.twitter.com/ and go to “Permissions” tab and you will get a section as “Additional Permissions”
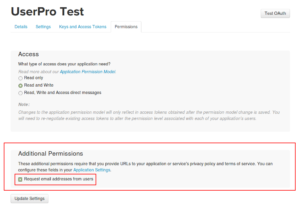
5. You can select the checkbox for the “Email Address” and now you should be able to pull “Email Address” from the users.
That is it. You should be ready to accept Twitter sign in via your WordPress site.
Leave A Comment?